Well, yesterday my tyre blew, so i took the chance to make a simple and easy to understand guide about how to patch a punctured tyre with common household items. Okay, maybe the tape ain't a common household item, but don't tell me your house don't have any nail clippers!
Anyway, lets start with the basics.
What you would need:
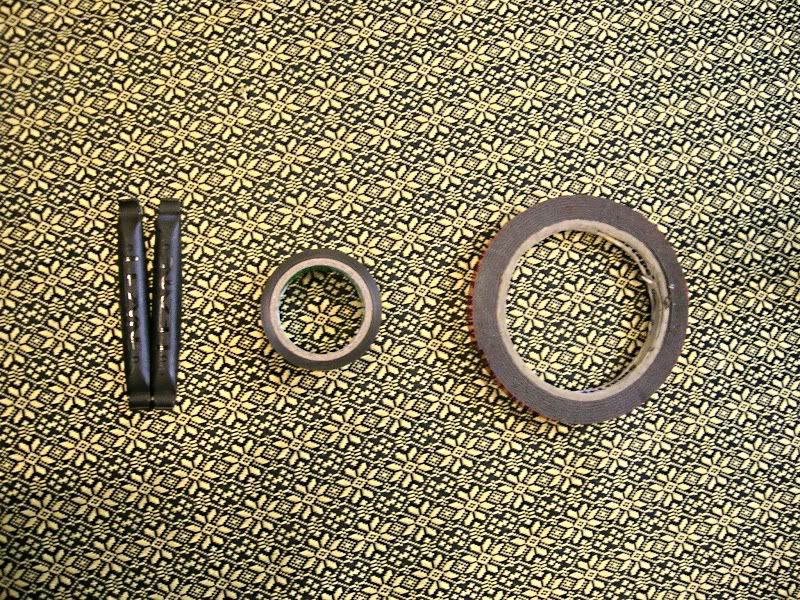
1. Tyre Levers OR 2x Nail Clippers
2. Heavy-Duty Double Sided Foam Tape
3. Electrical Tape
4. Super Glue - Optional
5. Spannar - Optional
Tyre levers are something that are made with a curved end, with the purpose of hooking the tyre bead, allowing you to pry open the tyre easily. It usually costs around RM10-20, and are usually made out of either some kinda plastic composite or a metal, either steel or aluminum, with the latter being the better choice. We'll get back to that later.
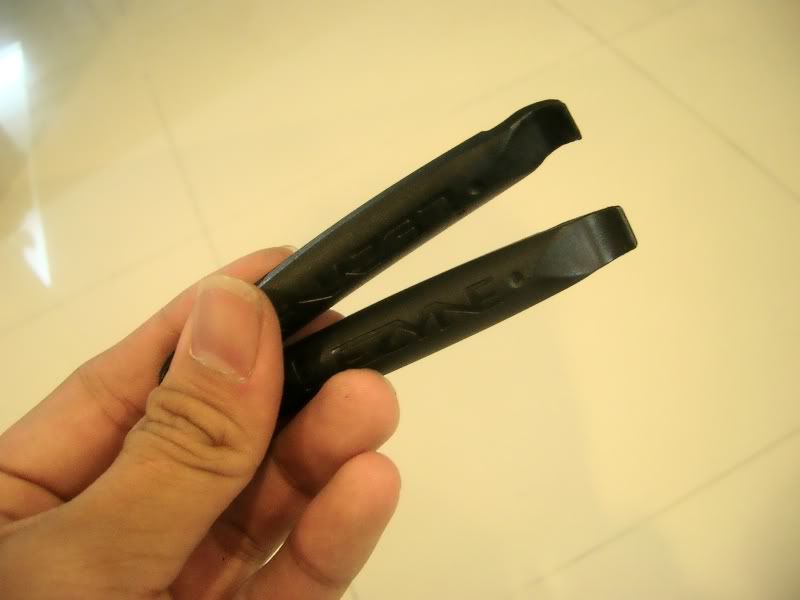
A set of tyre levers
Alternatively, you could also use 2x nail clippers with a curved end.
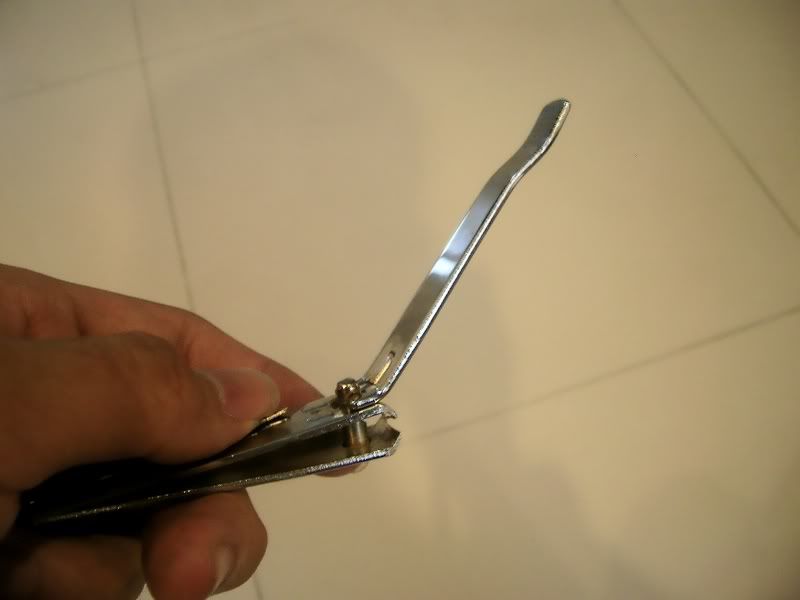
Nailclippers
First step is to remove the wheel. If your bike is using v-brakes, undo that first by squeezing both the caliper together, then undo the brake noodle from the noodle holder(as shown in the diagram)
After you've done that, its time to remove the wheel. Usually newer bikes are equipped with a quick release lever, if yours have it, undo the lever and loosen it a little. If your bike is using a nut to hold the wheel, loosen it with a proper sized spannar or an adjustable wrench.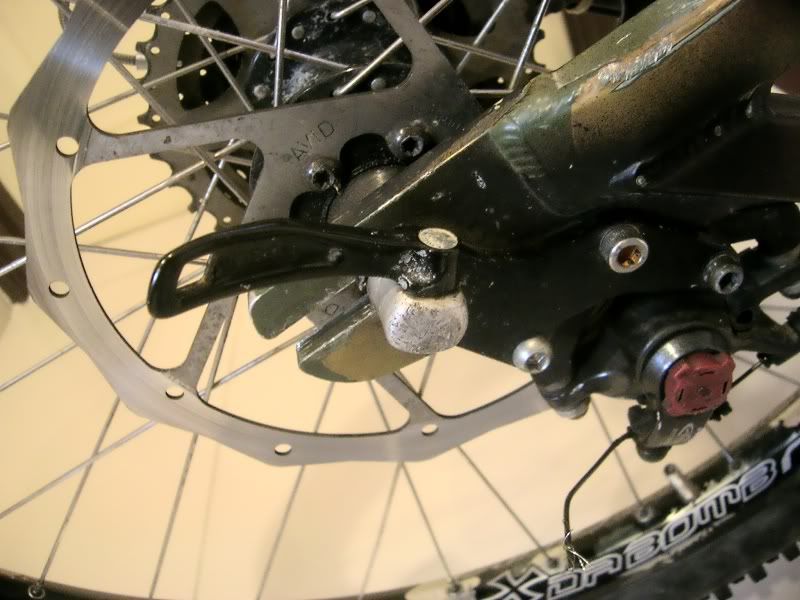
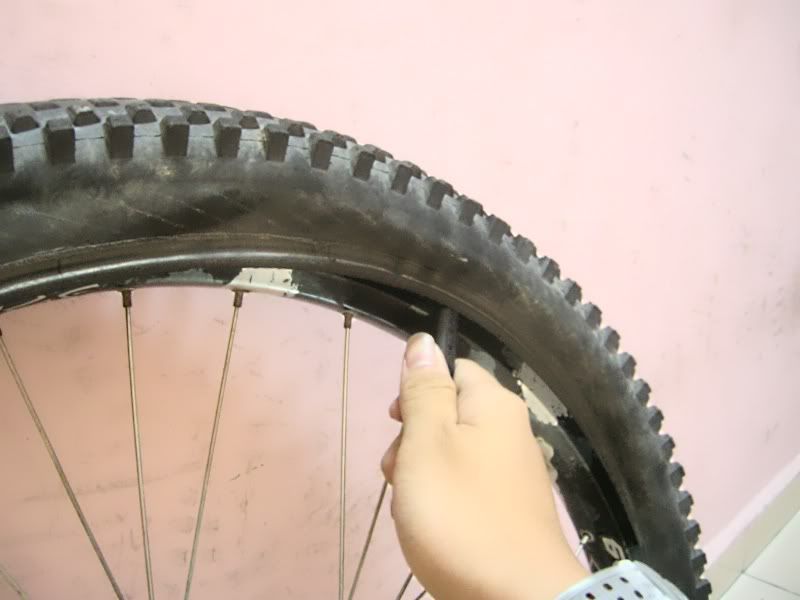
After you've removed the wheel, use the 2 tyre levers and insert it into the tyre by the side and try to get hold of the bead of the tyre. Pull the levers to the side and the tyre should pop to the side.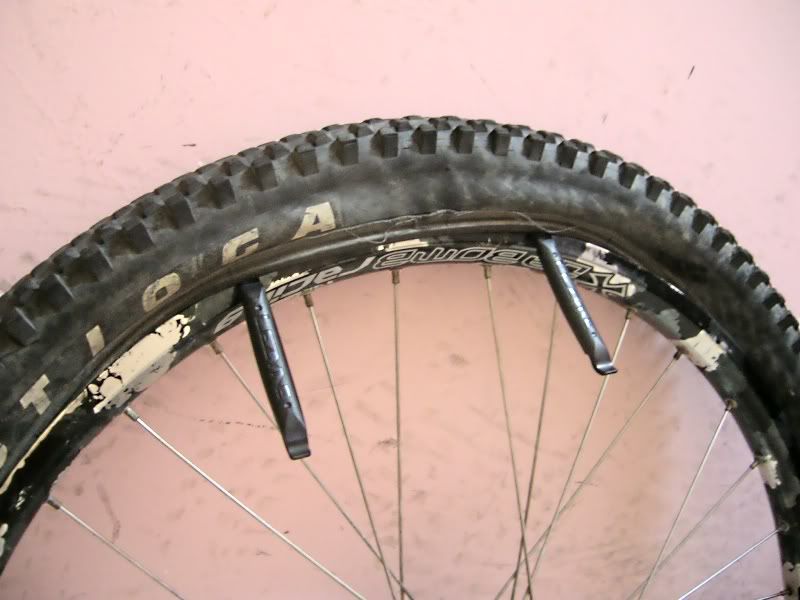
Using one of the tyre levers, slide the lever around the wheel to get one side of the tyre off the rim.
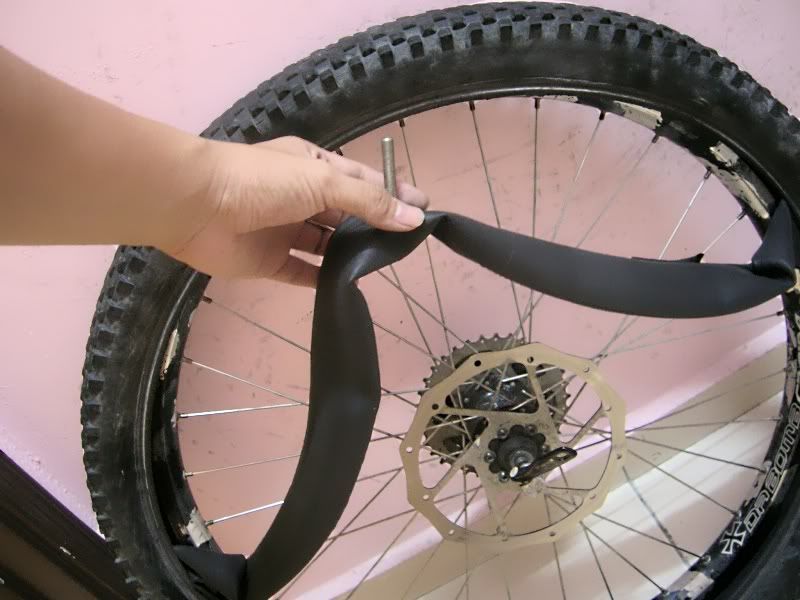
Visually inspect for any thorns, nails, staplers, tree trunks, etc, which might be present on the tyre. If you've found none, remove the tyre and manually use your hand to slide through the inside of the tyre to feel for something sharp.
Try to find the hole on the tube by pumping air into it while listening for the sound of air escaping. If the hole is too small, you could use a bucket of water to search for the hole.
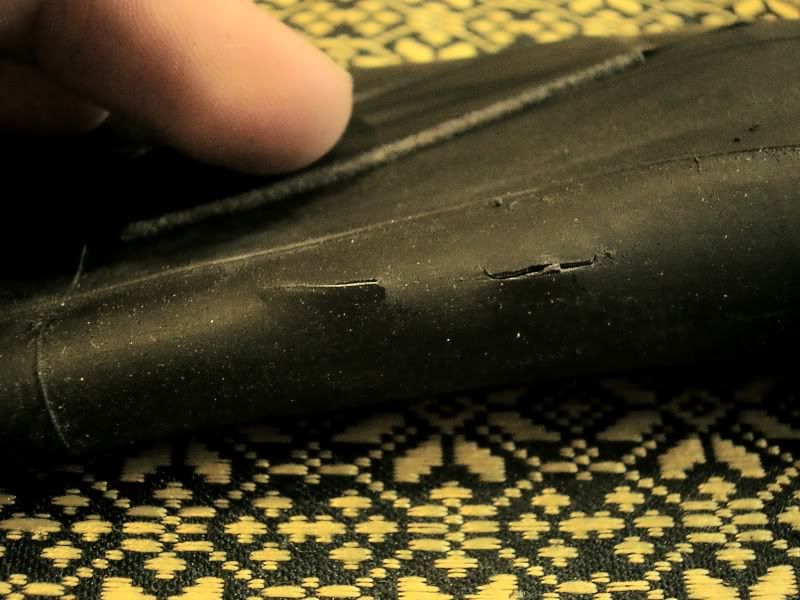
Wipe the part that is going to be patch clean with a damp cloth. If possible, roughen the surrounding area up with sandpaper(if you have). Cut a piece from the double sided foam tape and stick it onto the tube. Some type of tape do not work as i've found out, some are actually porous and allows air to pass through. You can dab a drop of Superglue on the hole before applying the tape just for that extra assurance.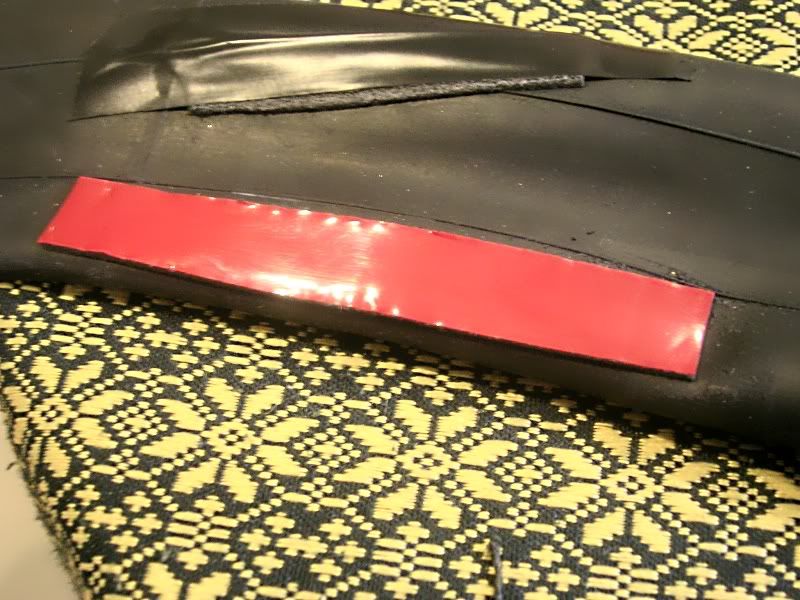
Press on the tape HARD to make sure that it sticks nicely and evenly. Remove the tape once its done, remove the protective layer on the other side of the tape and repeat. Remove the tape again. Cut another piece of tape and repeat the procedure on one side of the tape. This is to make sure that no debris are left on the tube and allows maximum bonding strength between the tyre and the tape.
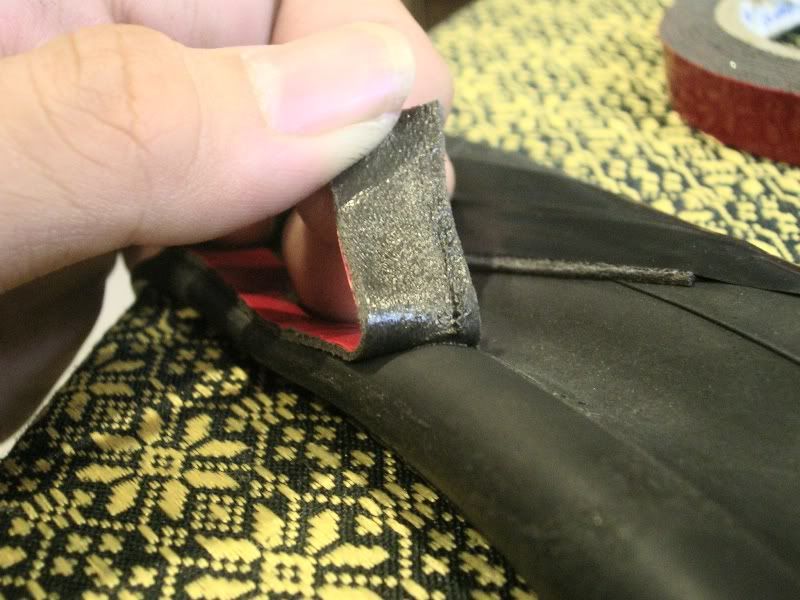
Remove the tape and remove the protective layer on the other side. Apply the tape and press it HARD as this will be the actual tape that sticks on the tube. After that, apply the electrical tape on top of the double sided tape, covering it completely to avoid the tube sticking to the tyre.
Pump the tyre up just enough for it to hold its shape, and listen for any leaks on the patch.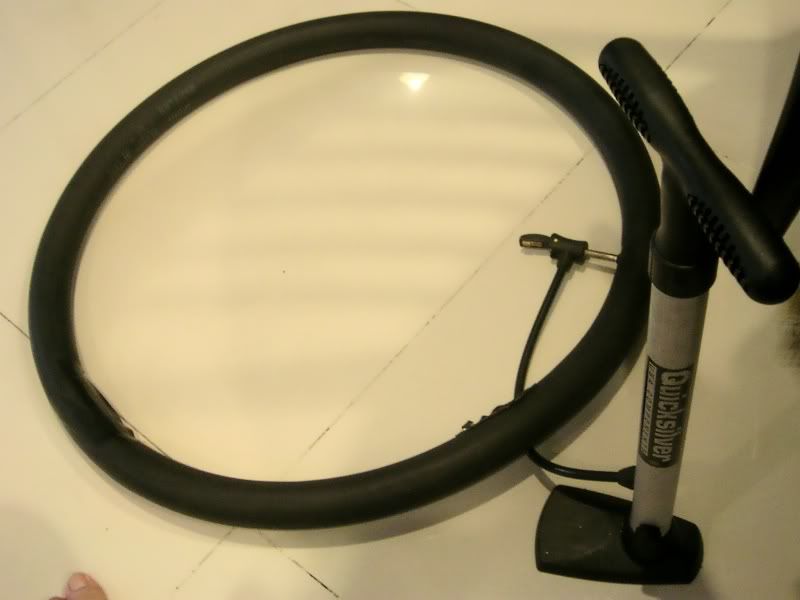
If all is good, insert the tube back into the tyre and using both hand simultaneously, re-seat the bead onto the rim. Once you've reached the top, using your hand, pull the tyre with force to the opposite side to get the tyre to sit into the rim. If its too tight, you could use the tyre lever or the nailclippers, but be careful not to make another hole into the tube which you've just patched!
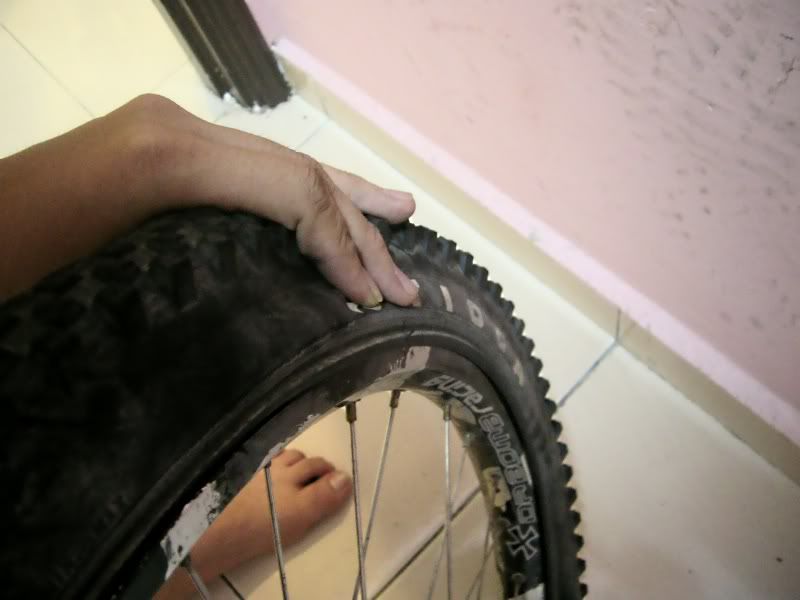
Pump the tyre HARD, around 40-45 psi, just to make sure. If your pump does not have a pressure gauge, pump the tyre up hard enough until you can barely press the tyre in. Pray hard that the patch works.
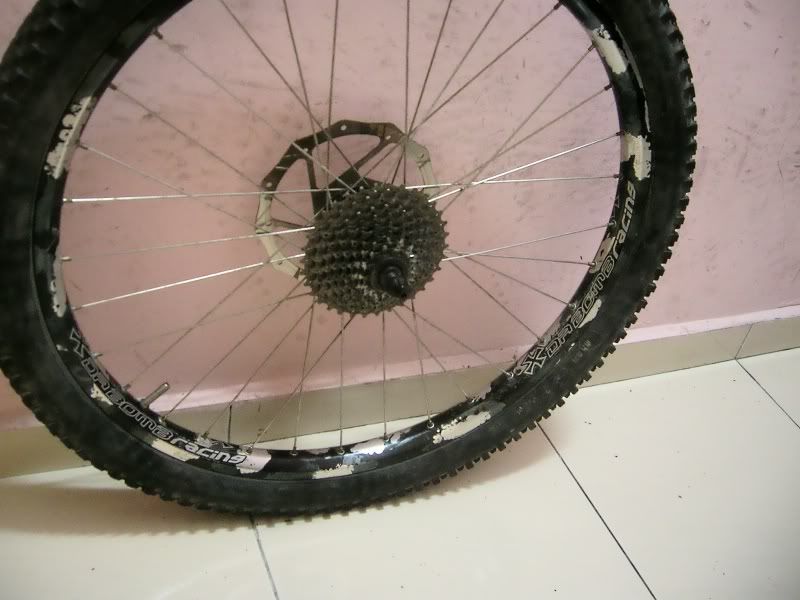
Now its time to install the tyre onto the bike. Most bikes now have gears and most people do not know how to re-insert the tyre back properly once they've taken it out.
When your bike is upside down, look at the chain properly. you'd wanna insert the tyre with the cassette(the gears thingy) in between the chain.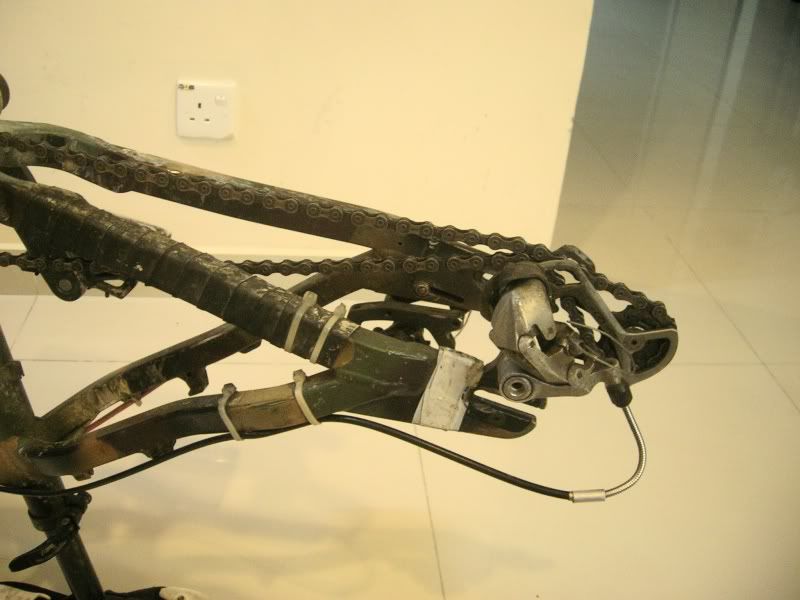
Like so...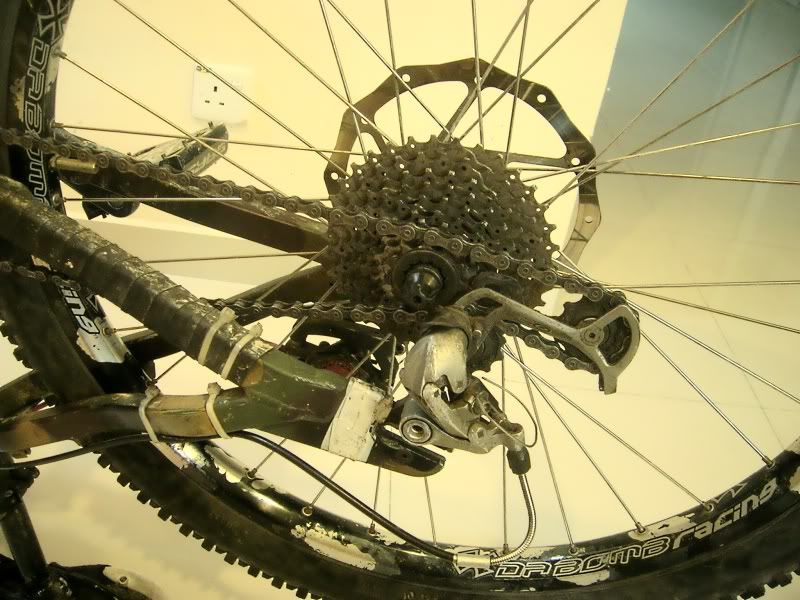
Align the wheel and drop the wheel into the dropouts(the slots where the axle goes into). Tighten the quick release levers back on or retighten the nuts if you're using a nutted axe.
Reinstall the brakes and you're good to go!
Finally, give yourself a pat in the back that you've patched your first tube. :D
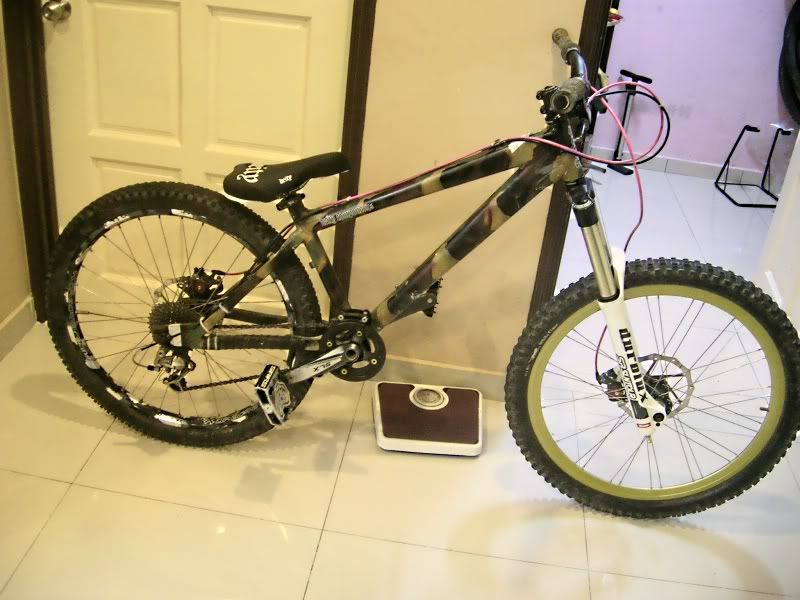
DO NOT immedietly ride your bike. Leave it there for at least a few hours as I've found out the patch may fail after a few hours which is why I usually do this at night before i sleep.
Good luck patchin'!


0 comments:
Post a Comment